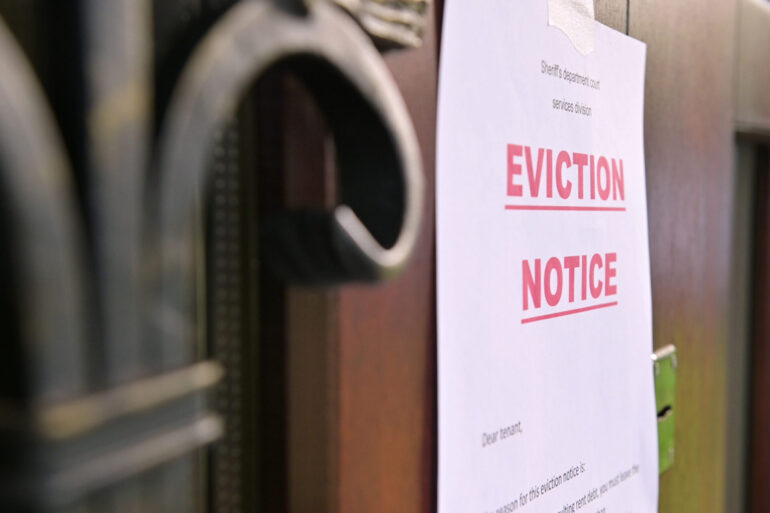

If you’ve ever served a notice and thought, “Right—job done,” you’re not alone.
But here’s the thing: in the real world (and especially in court), it’s not just what you served that matters—it’s whether you can prove you served it properly, and whether your timings stack up.
Many landlords lose weeks (sometimes months) because the notice itself wasn’t necessarily wrong… but the service was messy, unclear, or impossible to substantiate.
This post is a friendly, practical guide for landlords in England on how to serve notices properly, keep the right evidence, and avoid common slip-ups.
First: what “service” actually means (in plain English)
“Service” simply means getting the notice to the tenant in a legally recognised way (and often in the way your tenancy agreement sets out).
When you end up in a dispute, the key question becomes:
“Can you show the court when and how the tenant received it?”
Your goal is to build a simple, tidy paper trail that answers that question without drama.
Step 1: Check the tenancy agreement (always)
Before you even print the notice, dig out the clause—usually called something like “Service of Notices” or just “Notices”.
Look for:
- Permitted methods (post, hand delivery, email, whatever)
- Where it must be served (the property address, another address, a specified email)
- When it counts as served (like, “two working days after posting”)
If your agreement says, “serve by post to the property,” and you only email it, you’ve just made life harder than it needs to be. Don’t do that to yourself.
Step 2: Choose a method you can prove (not just “hope”)
Here are the common methods and how to make each one actually solid.
1) First class post (with proof)
This is popular because it’s simple and familiar.
Do it properly:
- Post it, first class
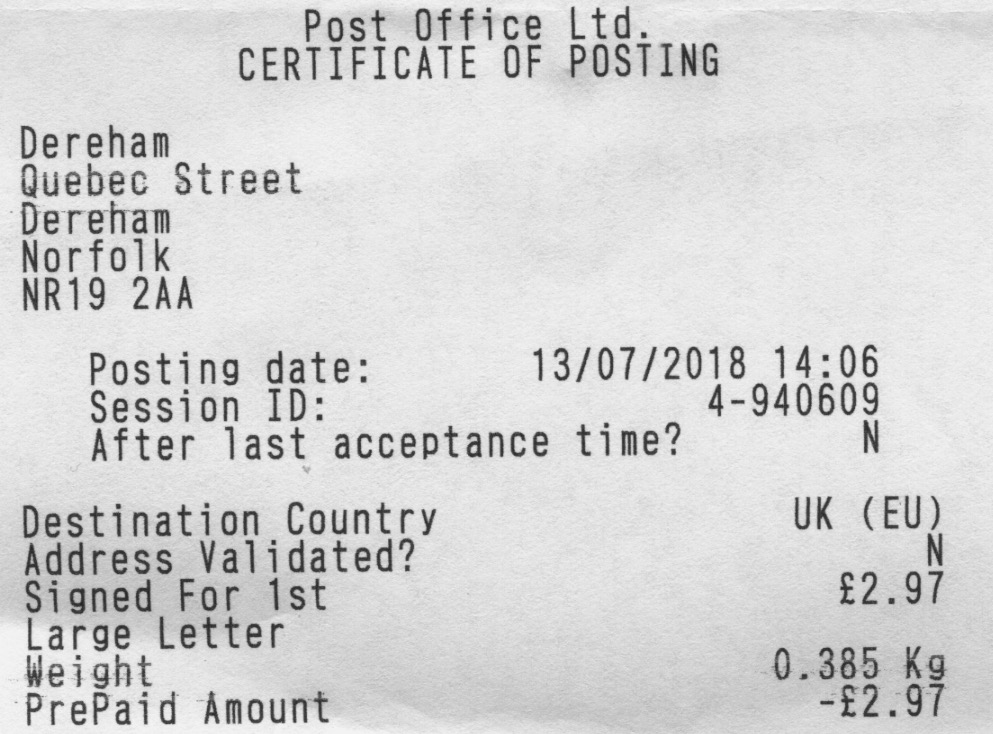
- Get a Certificate of Posting (free at the Post Office)
- Keep a copy of the notice you sent
- Note the date and time you posted it
That certificate is gold. Without it, it’s your word vs theirs—and guess who loses that argument in court?
2) Hand delivery
This can be fine—but do it in a way that’s calm and provable.
Best practice:
- Take a witness (even a friend is better than nobody)
- Take a photo of the envelope at the door (don’t photograph the tenant—that’s just weird)
- Make a quick note: date, time, address, who was with you
Avoid confrontation. You’re delivering a document, not starting a row.
3) Email (only when it makes sense)
Email can work well if it’s permitted in the tenancy agreement or if you have a clear written pattern of using email for formal matters.
Make it evidence-friendly:
- Send from your normal “official” landlord email
- Attach the notice as a PDF (don’t rely on “text in the email”)
- Keep the sent email and attachment
- If possible, request a delivery/read receipt (not perfect, but helpful)
Email-only is where landlords get caught out, especially when a tenant later says, “Never received it.” And suddenly you’re stuck.
4) Belt and braces (often the smartest option)
If you want to reduce risk, loads of landlords use:
- First class post + email on the same day
It’s not about “bombarding” the tenant—it’s about making sure there’s a clean record nobody can argue with later.
Step 3: Understand timings (there are three “clocks”)
This is where people get properly tripped up.
Clock 1: The notice period
Whatever notice you’re serving (Section 21, Section 8, whatever), the tenant must receive the correct length of notice. No shortcuts.
Clock 2: The service date
The day you send it is not always the day it’s treated as served.
Example:
If you post on Monday, your tenancy agreement (or standard assumptions) might treat it as served a couple of working days later. That shifts everything.
Clock 3: The “use-by” window
Some notices have an effective shelf-life. If you faff about for too long before starting proceedings, you may need to serve again.
Simple rule: serve it, diary it, act within the window. Don’t just hope you’ll remember.
Your “Proof of Service” pack (keep this every time)
Create a folder (digital or paper—doesn’t matter which) for each tenancy and keep:
- A copy of the final notice served
- Certificate of Posting / tracked proof (if used)
- Photos (if hand delivered)
- Witness notes (a simple, dated sentence is fine)
- Email trail + attachments (if emailed)
- A one-line service log: date, time, method, address/email used
If you ever need to show a judge, you’ll be very glad you did this tedious admin work.
The common slip-ups that cause delays
These are the classics:
- Serving the wrong address (old address, wrong flat number, wrong postcode)
- No proof of posting (“I definitely sent it” isn’t evidence—nobody cares)
- Relying on WhatsApp (fine for arranging access, rubbish for formal notices)
- Email-only with no agreement (tenant denies it, you can’t prove it, you lose)
- Confusing dates (notice date, service date, expiry date don’t line up)
- Serving late on a Friday (weekends/bank holidays can muddy assumptions)
Most of these aren’t “big legal mistakes”—they’re just admin slip-ups. But they can still wreck your timeline and cost you months.
A simple routine that keeps you safe
Here’s a reliable “do this every time” process:
- Check the tenancy notice clause + confirm the service address/email
- Complete the notice and double-check dates (seriously, check them twice)
- Print/Save a copy for your file
- Serve by post (Certificate of Posting)
- Also, email the same day (if appropriate)
- Update your service log + set calendar reminders (expiry + court window)
Boring? Yes. Effective? Also, yes. And that’s what matters when you’re standing in front of a judge trying to explain why you can’t prove you sent anything.