
Few messages land harder than “there’s mould in the bedroom and it’s making us ill.” Damp and mould complaints are stressful in a specific way — they’re high-stakes, they’re emotional, and they can escalate quickly into council involvement or legal action if the response is slow or dismissive. They’re also, in most cases, entirely manageable if you respond quickly, professionally, and with a clear paper trail behind you.
This guide is for self-managing landlords in England. It covers what to do in the first 48 hours, what to do in the week that follows, and the mistakes that tend to make these situations much worse than they need to be. It’s general information, not legal advice.
Why the first 48 hours matter
Two reasons. The first is straightforward: damp and mould can have real health consequences, and even if you have reason to think lifestyle factors are contributing, the complaint needs to be taken seriously from the start. The second is about evidence. The first 48 hours are when you can document the issue before conditions change, demonstrate that you acted promptly, and create a written record that protects you if anything escalates later. In a deposit dispute, a council complaint, or any formal process, your response timeline and communications will matter almost as much as whether the repair was done.
The first two hours: respond quickly and set the right tone
Your first message should go out promptly — and it should acknowledge the problem without jumping straight to a diagnosis or a defence. Don’t open with “it’s probably condensation” or “you need to open the windows more.” Even if those things turn out to be relevant, leading with them signals to the tenant that you’re looking for reasons not to act rather than trying to resolve the issue.
Something like this works well:
Thanks for letting me know — I’m sorry you’re dealing with that. I’m going to get this looked at urgently. Can you send a few photos of the affected areas and let me know which rooms are involved, when you first noticed it, and whether you’ve seen any signs of a leak? I’ll come back to you today with the next steps.
That message reassures the tenant, gathers the information you need, and creates a timestamped record of how quickly you responded.
The following hours: gather facts before drawing conclusions
Before you can decide what action to take, you need a clearer picture. Ask for photos and videos of the affected areas — wide shots and close-ups. Find out which rooms and which walls are affected, when it started, and whether it’s getting worse. Ask about obvious signs of a leak: drips, staining, bubbling paint, wet patches. Check whether the extractor fans in the kitchen and bathroom are working, whether there are any heating issues, and whether windows open properly.
What you’re trying to establish at this stage is whether this looks like a structural problem — a leak, penetrating damp from outside, a failed seal — or whether it’s more likely related to condensation, ventilation, or heating. The cause will shape the response. But the key point is to gather that information before reaching a conclusion, not the other way around.
Triaging the cause
Most damp and mould cases fall into one of three broad categories, and identifying which you’re dealing with determines how urgently you need to move.
If the evidence points toward a leak — a plumbing problem, a roof issue, failed guttering, cracked render, a failed seal around a bath or shower — treat it as urgent and aim to have someone on-site within 24 to 48 hours. Moisture from outside or a plumbing failure won’t resolve itself, and the mould will keep coming back until the source is fixed.
If it looks more like condensation — mould appearing behind furniture, in corners, around windows, recurring each winter — it’s still worth arranging an inspection, but you can also send some practical interim guidance while you’re booking it. If the cause is genuinely unclear, which it often is at this stage, inspection comes first. Diagnosing the problem via WhatsApp without having seen the property is how landlords end up dealing with the wrong thing.
Within 24 hours: book an inspection and confirm it in writing
The goal by the end of the first day is a booked inspection with a written confirmation sent to the tenant. Confirm who will be attending, the date and time window, what access will be needed, and roughly how long it should take. If the tenant can’t make the proposed time, offer alternatives quickly — a lot of unnecessary delay comes from slow back-and-forth on access arrangements.
The inspection itself
Whether you’re attending yourself or sending a contractor, you want a documented record of what was found: photos of all affected areas, humidity readings if you have a hygrometer, signs of leaks such as staining patterns or wet patches, the condition of extractor fans and vents, window and trickle vent condition, any clues about heating — rooms that are unusually cold, radiators not working — and furniture placement if wardrobes or large items are sitting flush against external walls.
After the inspection, send the tenant a written summary: what you found, what you’re doing next, a realistic timeline, and any immediate steps they can take in the meantime. This matters because it demonstrates action and creates a clear record of the sequence of events.
The week that follows
Fix the moisture source before anything else.
The most common mistake landlords make with damp and mould is treating the visible mould while leaving the underlying problem in place. If there’s a leak, a failed seal, a guttering problem, or any other structural cause, that has to be dealt with first. Cleaning the mould off the wall and repainting over it while moisture is still getting in just means the problem comes back, the tenant complains again, and you’ve spent money without resolving anything.
For condensation cases, address the ventilation.
Where the issue is genuinely condensation-related, the practical fixes usually involve the extraction and airflow in the property: repairing or upgrading extractor fans, ensuring bathroom and kitchen vents are venting outside rather than into a void, checking that trickle vents are present and working, and ensuring windows seal properly. These are landlord responsibilities, and they’re worth addressing properly rather than hoping the tenant changes their behaviour.
Treat the mould itself appropriately.
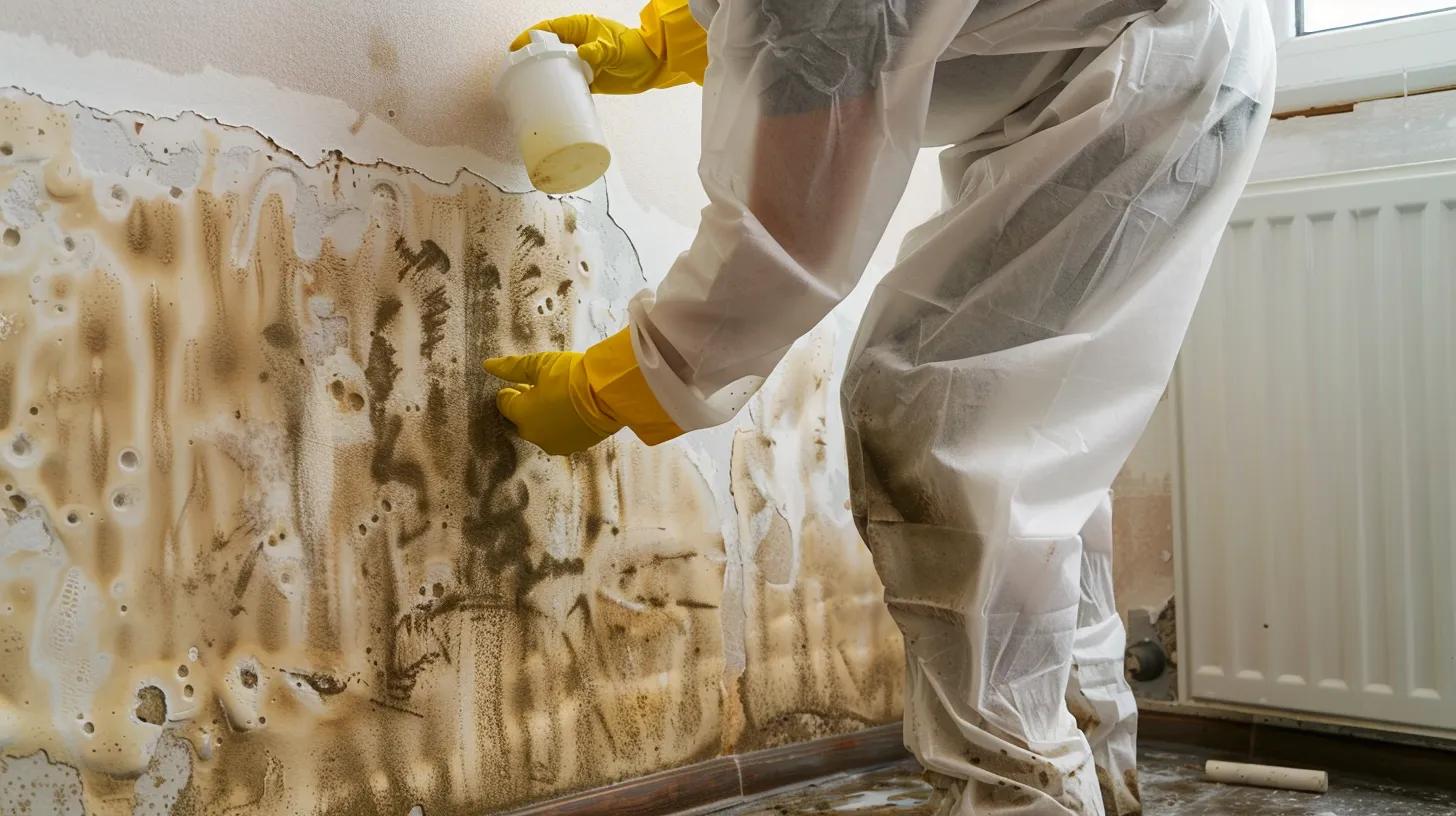
For light mould, cleaning may be straightforward. For heavier or recurring mould, you’re likely looking at professional mould treatment, anti-fungal paint, and possibly addressing cold bridges if parts of the wall structure are significantly colder than the rest. The approach should match the scale of the problem.
You can offer guidance without allocating blame.
While the inspection and repairs are being arranged, there’s nothing wrong with sending the tenant a note about steps that can reduce moisture in the interim — using extractor fans during and after cooking and showering, keeping trickle vents open, avoiding drying clothes on radiators if possible, maintaining some consistent background heat in colder rooms, and leaving a small gap behind large furniture on external walls. The key is to frame it as helpful interim advice, not as an accusation. Something like: “I’m not assuming this is the cause — we’ll confirm after the inspection — but these steps can help reduce the impact in the meantime” strikes the right note.
What tends to make things worse
Opening with blame.
Even where lifestyle factors are genuinely contributing — not enough ventilation, clothes drying on radiators, inconsistent heating — raising that in the first response almost always escalates rather than resolves. Deal with those factors later, after the inspection, once you have evidence to point to. Starting with concern and action is both the more professional approach and the more tactically sensible one.
Slow inspection.
A delayed inspection makes the tenant feel ignored and significantly increases the chance they contact the council. It also weakens your evidence, because conditions change. Moving quickly in the first 24 to 48 hours is the single most effective thing you can do to keep the situation manageable.
Treating ventilation advice as a solution.
Telling a tenant to open their windows more is not a response to a mould complaint. It might be part of the picture, but mould needs to be investigated and treated. Anything less than that is likely to result in the tenant escalating.
Letting the paper trail lapse.
If you don’t keep dated photos, message records, contractor reports, and receipts, you’ll struggle to demonstrate reasonable action if anything escalates. The documentation is what protects you, not the repair itself.
If the council gets involved
Councils can become involved when a tenant reports disrepair, when the issue is severe, or when the landlord’s response has been slow. If that happens, your protection is the same as it would be in any other escalation: a fast initial response, evidence of inspection and repairs, clear communication throughout, and documentation that you took the issue seriously. Even where there’s a dispute about the cause or responsibility, a clear paper trail demonstrates that you acted in good faith.
The evidence to keep
From the moment you receive the complaint, keep everything in one place: the tenant’s original message with the date and time, photos from the tenant and your own from the inspection, inspection notes, contractor quotes and invoices, any humidity readings, a record of repairs completed and when, all follow-up communications, any guidance sent to the tenant, and a log of access appointments. If anything becomes formal, that file is what distinguishes a landlord who can demonstrate reasonable conduct from one who can’t.
Damp and mould complaints don’t need to become disputes. Respond within 48 hours, investigate properly, fix what needs fixing, and document everything. That combination protects the tenant’s health, protects your property, and protects your legal position — which is about as good an outcome as these situations allow.